|
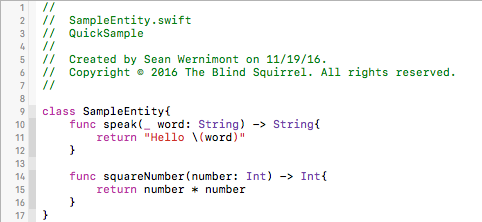
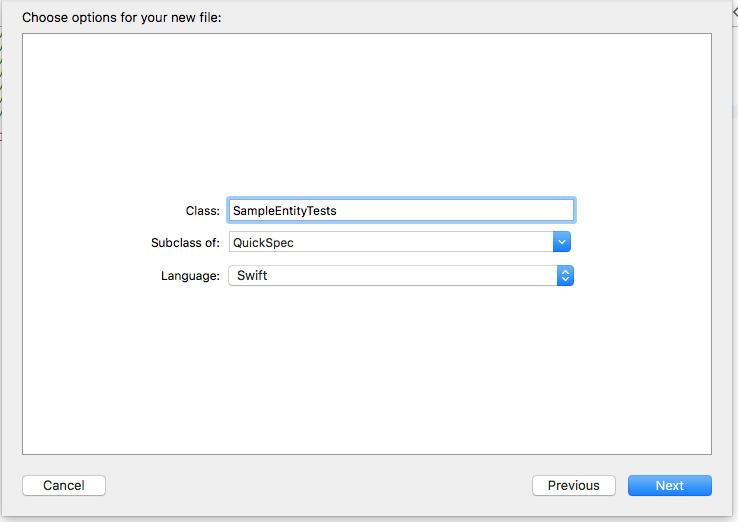
I've been toying around with native iOS development using swift on and off for about a year now. One topic that I haven't looked into as much is how to do automated testing. I've looked at XCTest but I just don't like that I have to start all of test names with the word test. I believe that the test name should descriptive of the work being tested and appending each test with the word test does not make sense to me. So after some searching I came across Quick and Nimble test frameworks. I'm coming from hybird mobile development and using Jasmine to test my JS files. So the Quick and Nimble structure is just like Jasmine with nested describes and it statements to structure your tests. So that combined with not having to append each test name with test was enough for me to go a little deeper with Quick and Nimble. I thought I would write this brief post about my experience setting up a sample application with Quick and Nimble to help anybody else out there looking for something besides XCTest. Be sure to checkout the finished project at my GitHub. I'll be using Xcode 8.1 and Swift 3 during this tutorial. To start I created a new Xcode Project that is a Single View Application. I gave the project a name, selected Swift as the language, iPhone as device and only selected Include Unit Tests then clicked Next and saved the project. 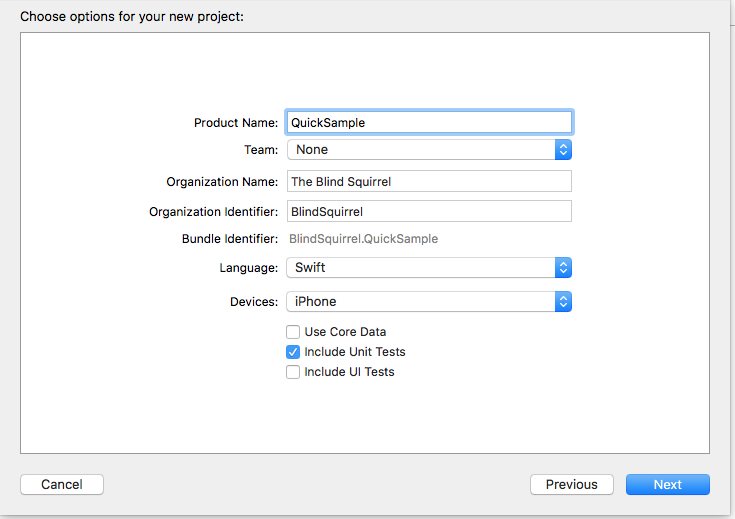 At this point I have a default iPhone app that includes an autogenerated XCTest test file. Now it is time to add Quick and Nimble to my project. 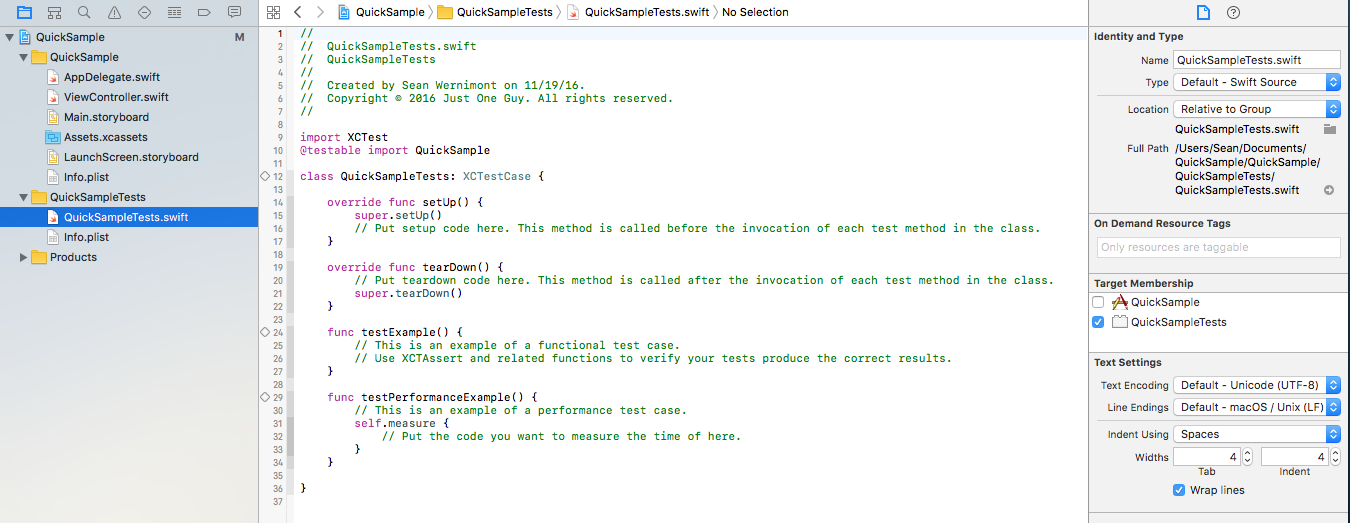 I'll be using CocoaPods as my package manager so if you aren't familiar with it, check out the documentation at CocoaPods.org. Jumping over to a terminal window I created a new podfile that uses frameworks and only includes quick and nimble. Because I'm using Swift 3 I selected Quick 0.10 and Nimble 5.0. Then I closed Xcode and ran pod install from that same terminal window. In order to use pods you need to open the xcworkspace rather than the normal xcode project. To open the workspace from the terminal make sure you are at the directory that contains the workspace, you can use the ls command if you aren't sure, then run open QuickSample.xcworkspace and the workspace will open in Xcode. 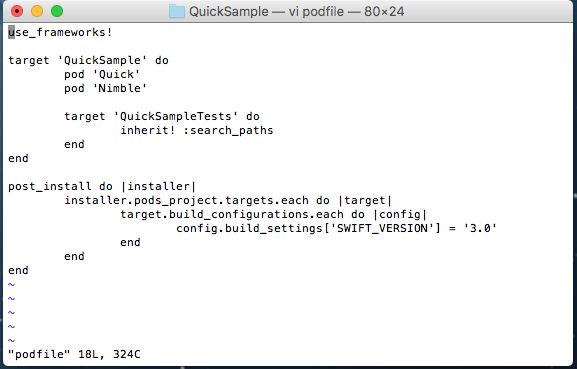 I hit convert and next on both popups and let Xcode try to convert the frameworks to Swift 3. After Xcode was finished I cleaned the project by hitting command+shift+k and rebuilding with command+b. 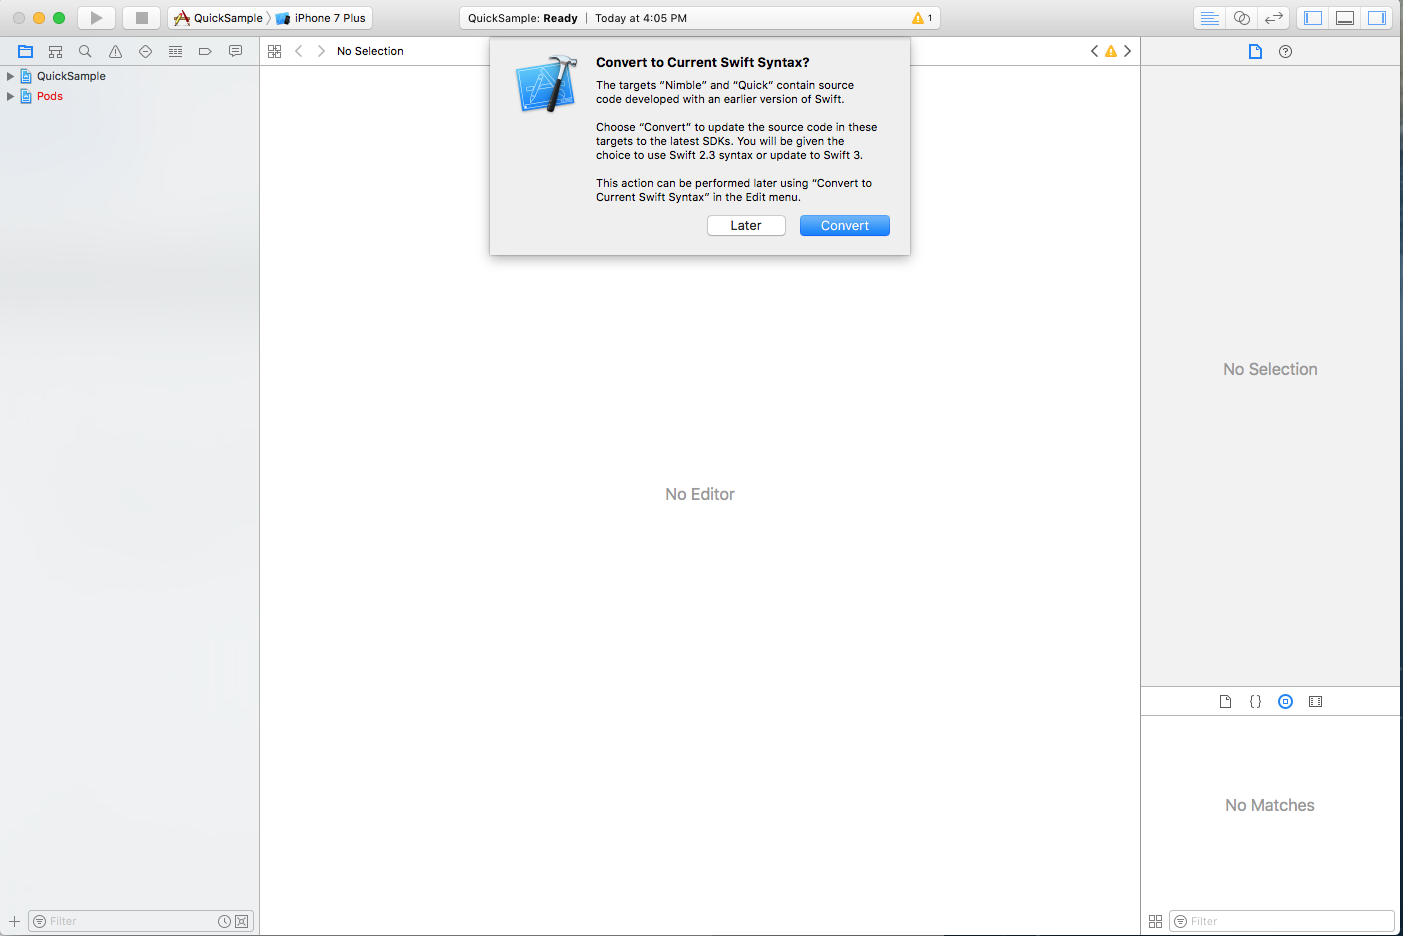 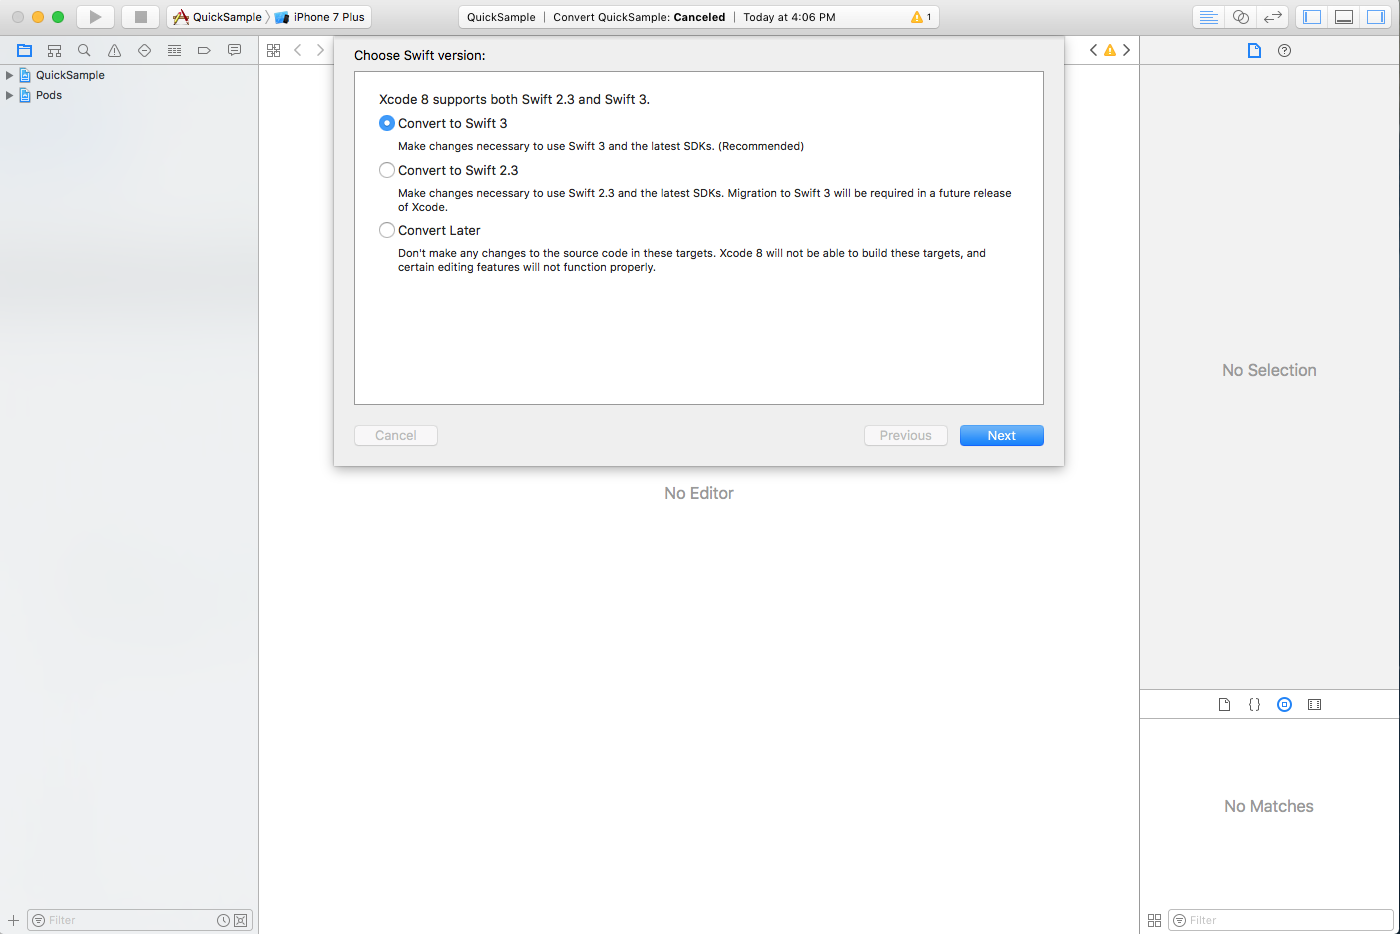 Next I created a sample entity to test with a single function and a test class for that entity. To add the test class I clicked (either two finger or control click) on the QuickSampleTests folder and selected Add New. Then I chose Unit Test Case Class, clicked Next and gave it a name and made sure that it was a subclass of QuickSpace and Swift was the language.
At this point the test class I just created looks just like an XCTest class only the subclass is different. Next I modified the SampleEntityTests class by importing Quick and Nimble, adding the @testable directive and creating a basic unit test. 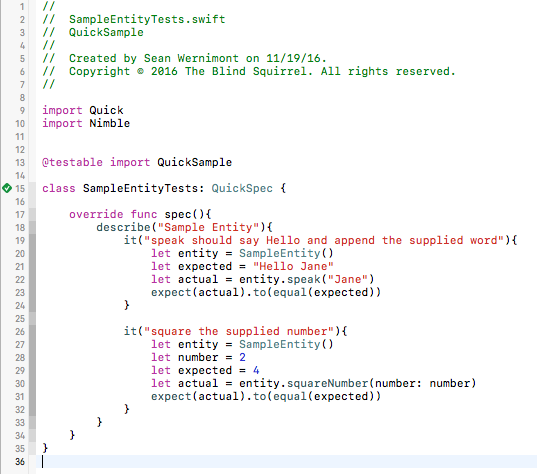 If you are used to XCTest you may notice that the test diamond is next to the class rather than each test. You can still run a single test if needed, but you have to go through the test explorer in Xcode. That's it. Just a simple example of how to use Quick and Nimble to test your iOS application. Thanks for joining me and Happy Coding. 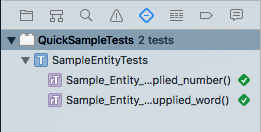 |
AuthorWelcome to The Blind Squirrel (because even a blind squirrel occasionally finds a nut). I'm a full-stack web and mobile developer that writes about tips and tricks that I've learned in Swift, C#, Azure, F# and more. Archives
April 2018
Categories
All

|
 RSS Feed
