|
Update to Part 2. After spending more time with the build pipelines and learning more about how the release pipelines work, I've been two changes to the builds I setup in Part 2. One, I created a second build pipeline just for Develop and left the original pipeline for Master. Two, I decided to use the date format for the build number of Develop. Now onto Part 3.
In Part 1 we created the devops project and then in Part 2 we created the CI build pipeline. Now it is time to create the release pipeline. Since I don't want to create a release every time develop builds I created a second build for that branch. Master is my release branch and I'll be using that one to create my release pipelines. In the end I hope to have a release process that will take the build artifact (a nuget package) and push it to Nuget.org. Let's get started. When you first create a DevOps project a default release pipeline will be created for you. I deleted mine so I'll be starting from scratch. When you don't have any releases created you'll see an empty dashboard like this. 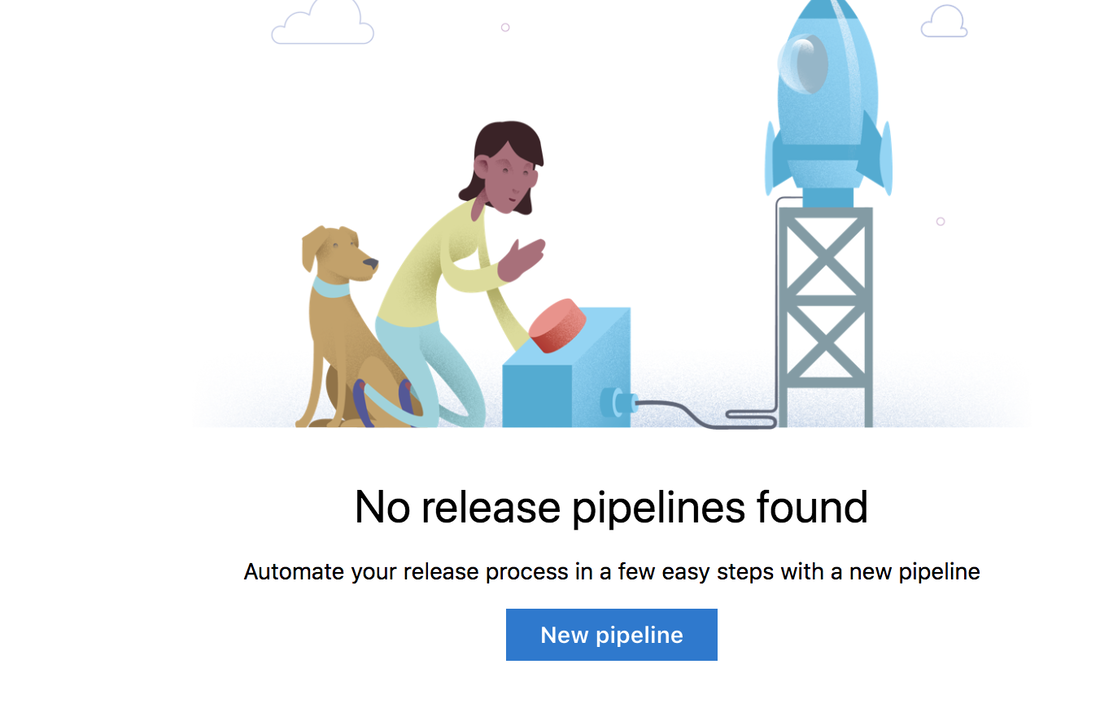
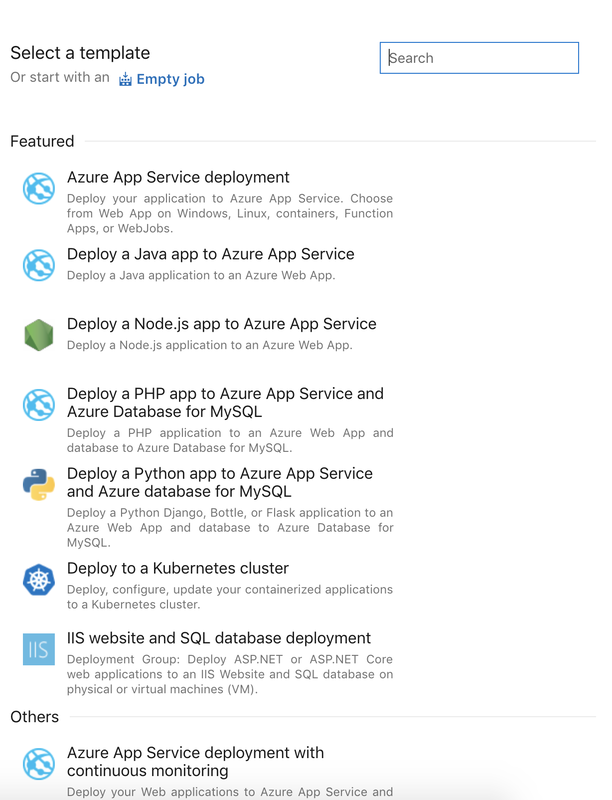
When you create a new release pipeline the first thing you will have to decide is which template to use. I'm going to create an empty job and customize from there.
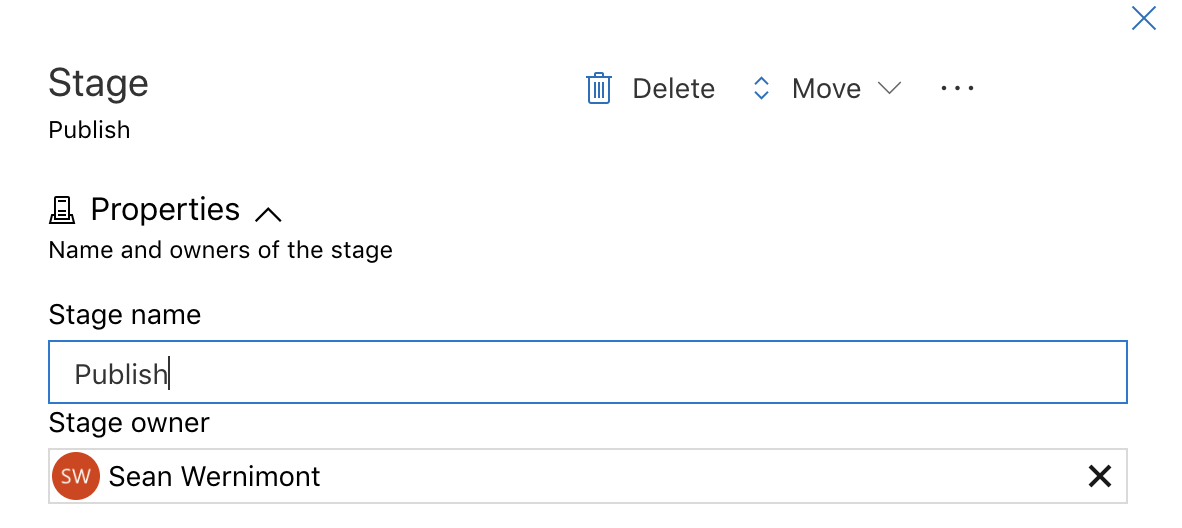
Next you give the first stage a name. Make sure to choose a name that fits with what the stage does. I only need stage for this simple pipeline.
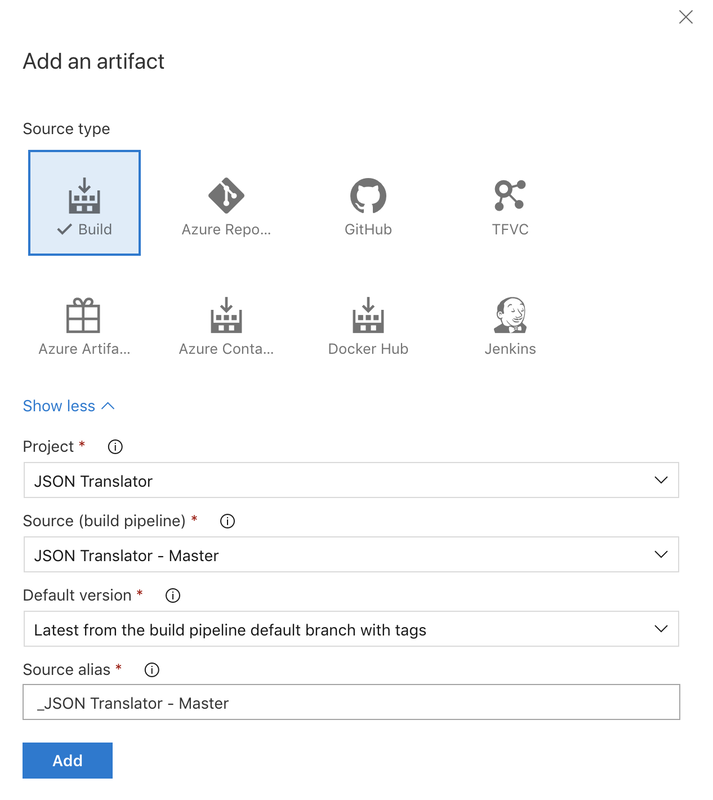
After naming the stage close that window by clicking the X in the top right corner. Next I need to get the artifact that I'm going to publish. I'm going to use an artifact from a build process, but there are several other artifact sources to fit your needs. In the source dropdown you can select any of the builds that you have created in this project. Make sure to select the right now, don't want a dev build making its way out to production. Once you have set up the artifact click Add.
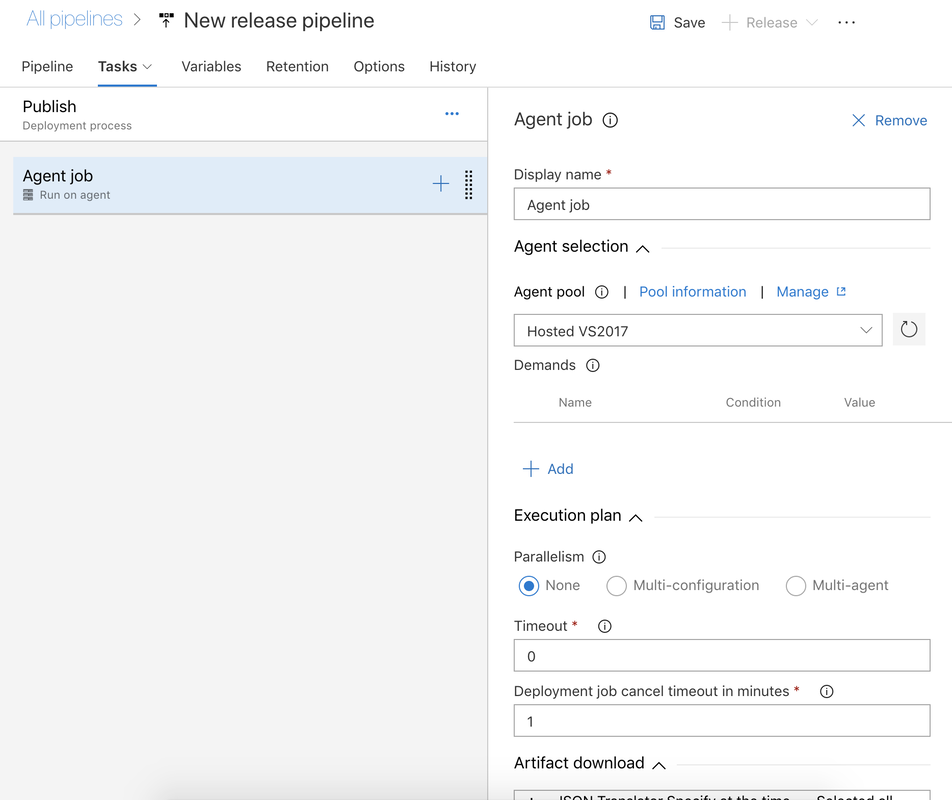
We have access to the same (or very similar) tasks here as we did when we set up our build. This time we are interested in two tasks for Nuget. The first we want to make sure that we have nuget on our build agent. And the second is the step that will push our package to nuget.
Search for nuget and add the task called Nuget Tool Installer. As of this writing the default nuget version is 4.3.0 so I'm going to leave it. If you need specific version just enter it in the version field. 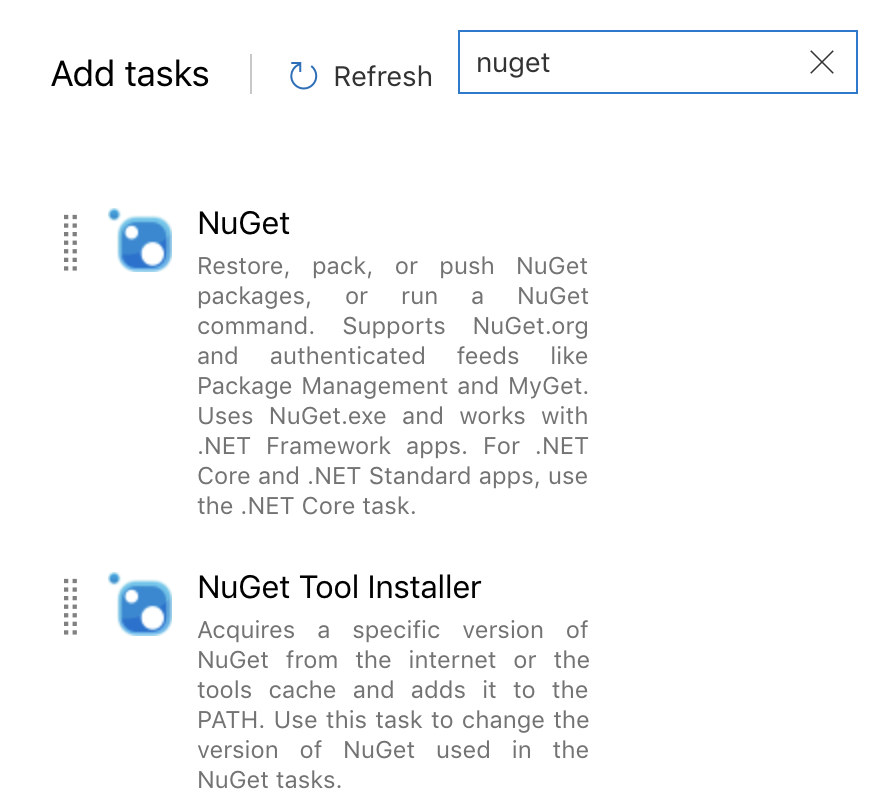
Next we add a task to push our package. To do this we need to add another task by clicking the + on the agent and searching for Nuget, just like we did for the tools installer. The only difference is this time we want the main Nuget task.
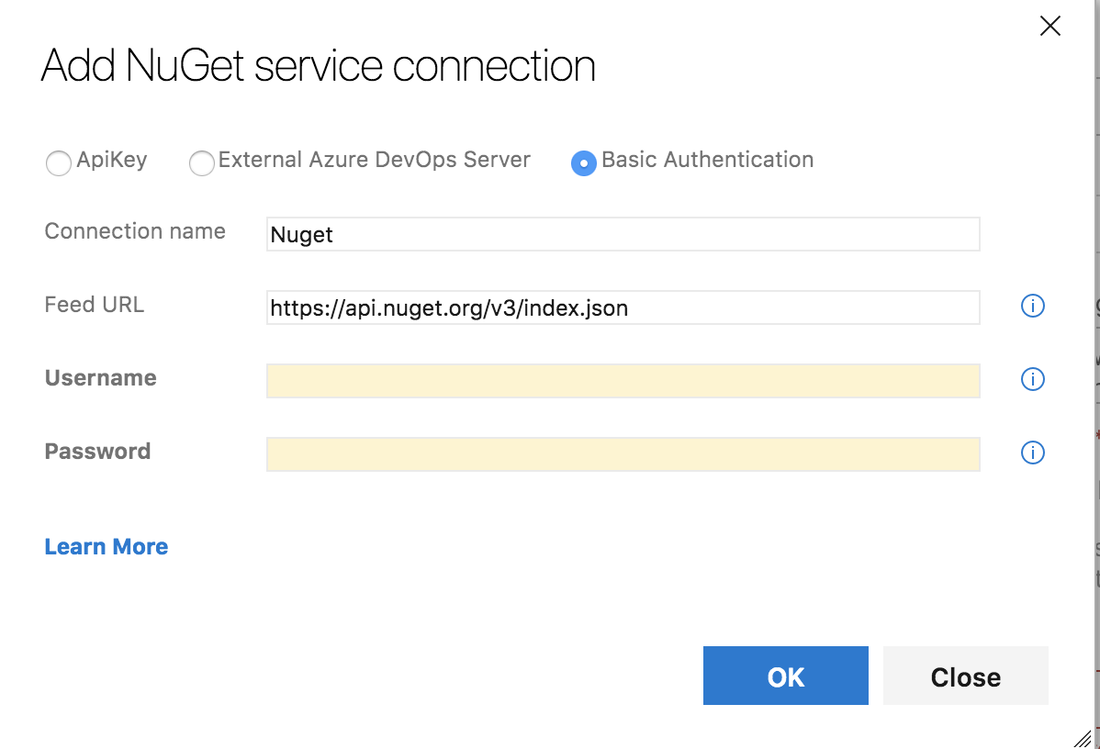
The display name and command are pretty much what you'd think they are. I did change the Path to the package a little bit. By default it lists the path to the specific package, so I changed it to add the wild card in the path. If you wanted you could replace everything after the $(System.DefaultWorkingDirectory)/**/*.nupkg. Next you need to add a nuget server. You can publish to an internal feed or an external server. For this example I will be publishing to public nuget.org. If you already have a service connection setup you can select it from the dropdown, if not click + New. 
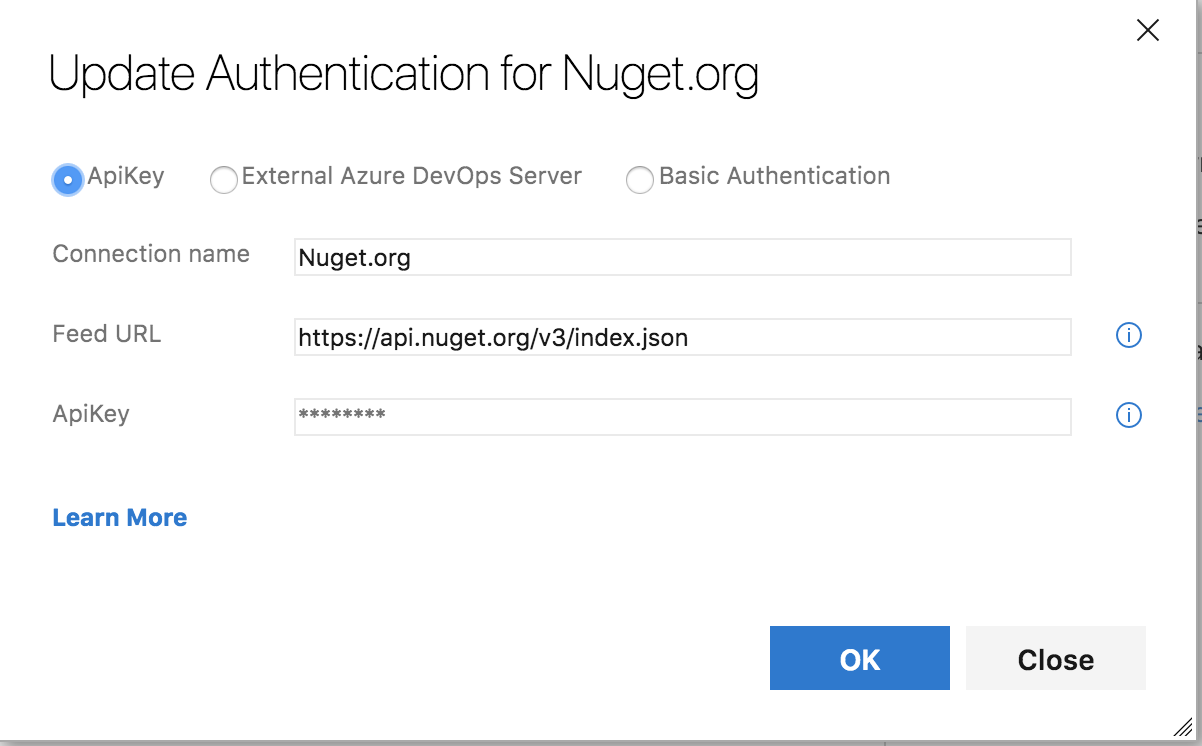
You have the option to use Basic Auth which requires your username and password. Or you can generate an API Key from Nuget and use that. Due to a bug in dotnet core if you want to use the API Key you will need use the Nuget Task.
After you have set up the service connection and have configured the task the last thing to do is click Save. At this point we have a release pipeline that will take the artifact from the latest build and push it to nuget. We stop here if we want to kick off every release manually. If we want to start a release as soon as an artifact is available or on a pull request we have to select the trigger (the lighting bolt) on the artifact. From there you can select either to start a release on artifact or pull request or both.
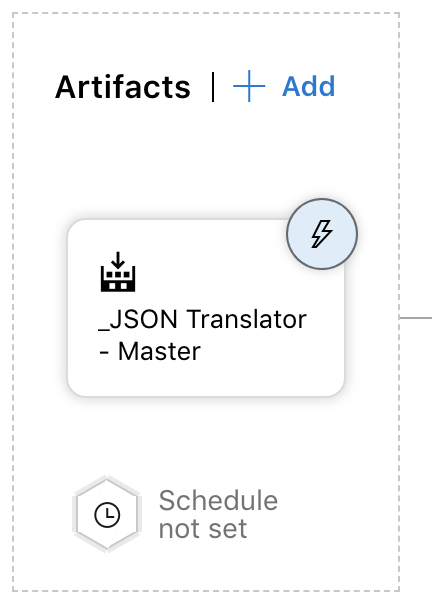
I do want the release to start as soon as the master branch is built so I enabled that trigger and set the build branch to master.

That's it. It is very simple to setup a release pipeline with Azure DevOps. In this series we have created a new project, setup a build that automatically triggers on commit and now we have a continuous deployment release setup on the master branch. Thanks for making it through the entire series. Leave a comment or tweet me (@swernimo) with you see something I missed.
Good luck and Happy Coding. |
AuthorWelcome to The Blind Squirrel (because even a blind squirrel occasionally finds a nut). I'm a full-stack web and mobile developer that writes about tips and tricks that I've learned in Swift, C#, Azure, F# and more. Archives
April 2018
Categories
All

|
 RSS Feed
