|
Back in September Microsoft announced that they were creating a new solution for managing your devops needs in Azure. Since then I've been wanting to play around with it and try out what's available, but haven't had the time. Well, I finally completed something else I was working on so I decided to circle back and the experiment with Azure Devops. My goal is to create a build and deploy pipeline for my JSON Translator Project. When everything is said and done I hope to have a build that automatically triggers whenever I push a commit to my github repo and then have a deploy process that will publish the new package to nuget.org. The first step is creating the devops project in Azure.
Creating a new devops project is just like creating any other resource in Azure. Click on 'Create a Resource' on the top left and then click on DevOps Project. 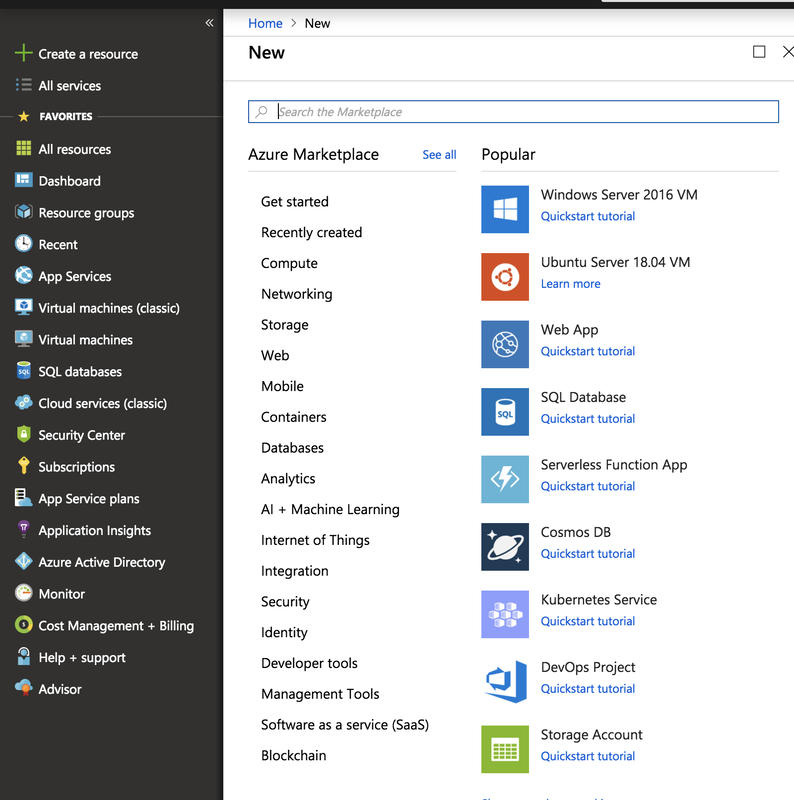
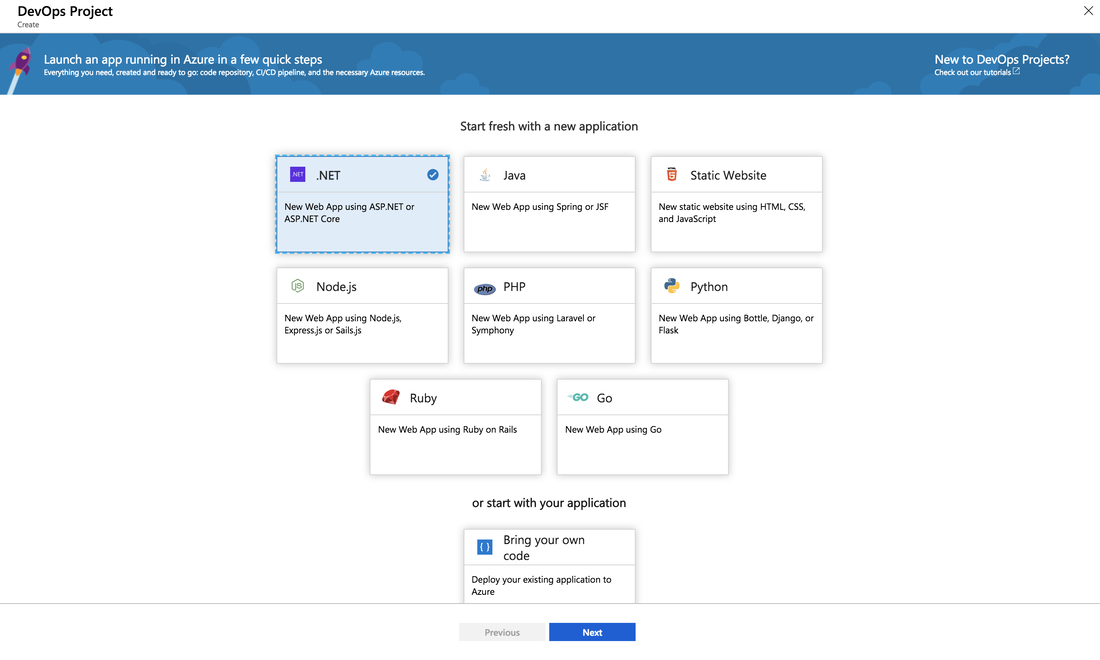
The first step is to decide if you will start with a fresh application or you want to use an existing application. Since I already have the code written and stored in github I'm choosing to bring my own code.
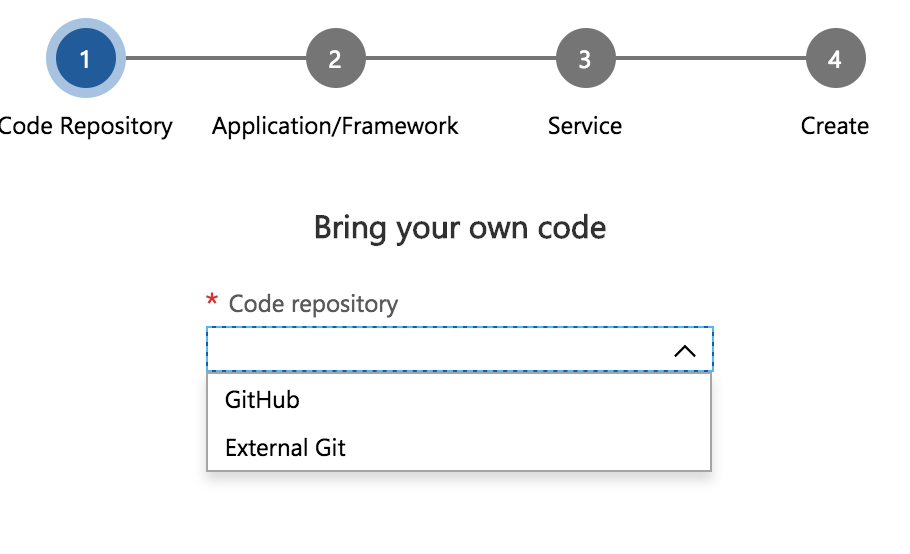
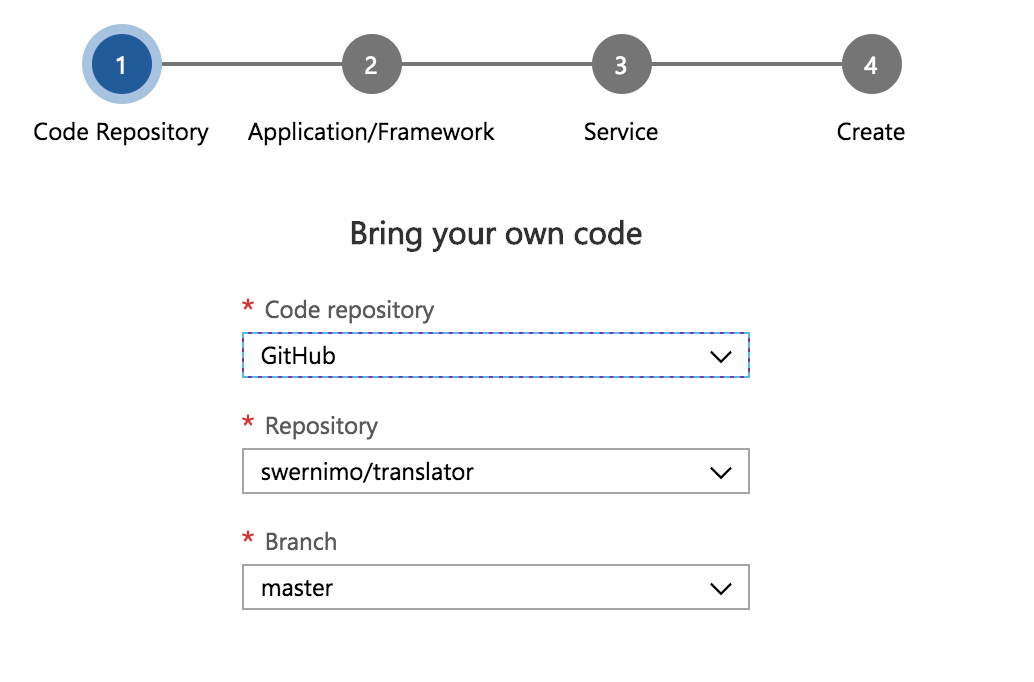
Next Azure will ask if you are using GitHub or some other external git. After selecting your source you will need to connect to it and select a repo and branch. I already setup oauth between my Azure Portal and my Github. If you don't have that setup you'll have to do that before you can select a repo.
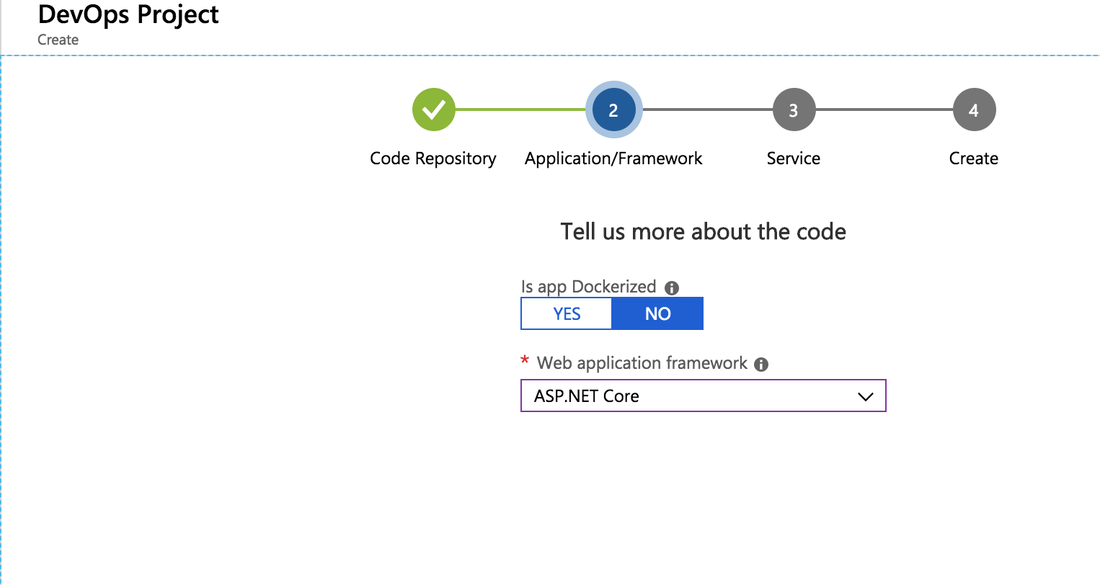
After connecting to your source repo you have to select if the app is in a container and specify the web technology. I wish I could just skip this step since I'm not building a web application but you can't. I did build my application in .Net Core so I selected Asp.Net Core
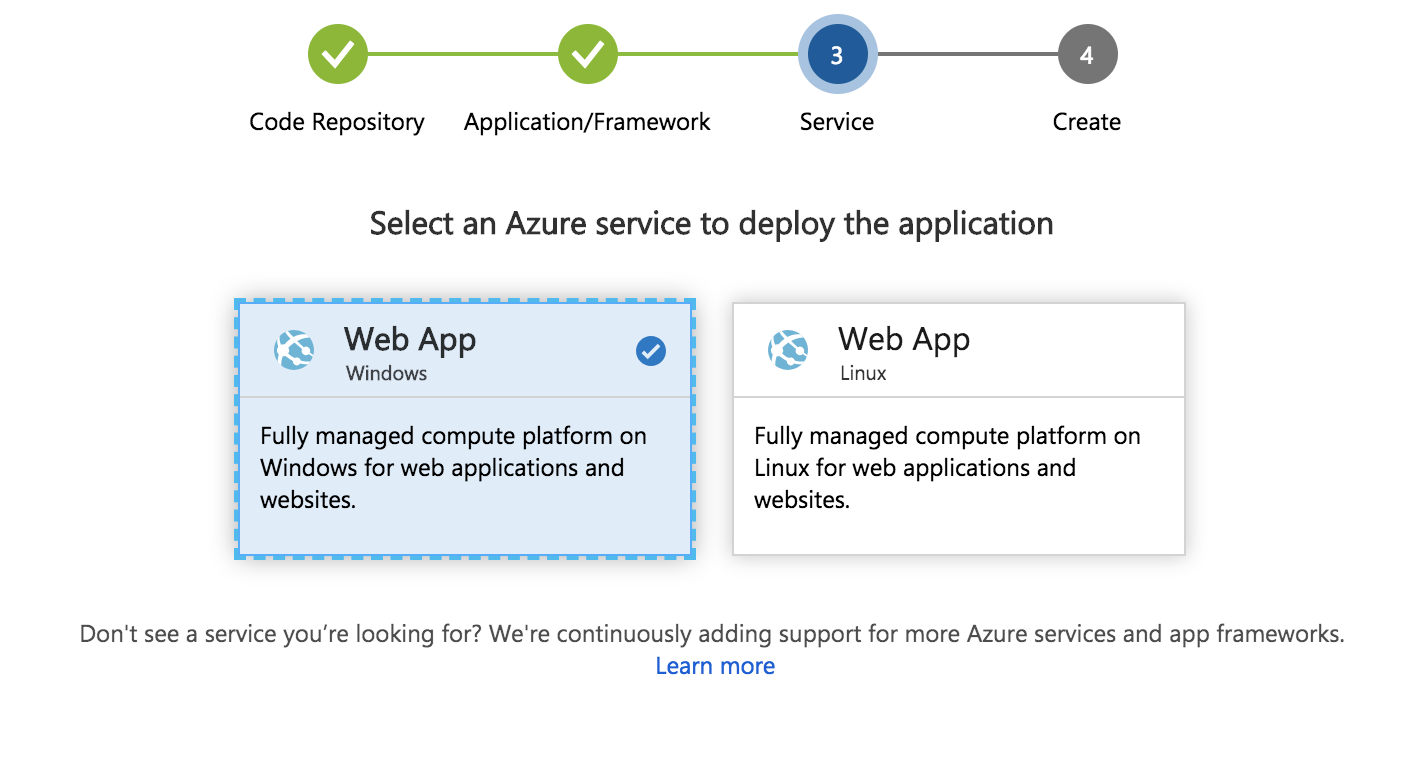
Next you need to select the Azure Service you want you app to deploy to. For me the choices are a web app that either runs on Windows or on Linux. I just selected Windows, but I don't plan on actually doing anything the web app.
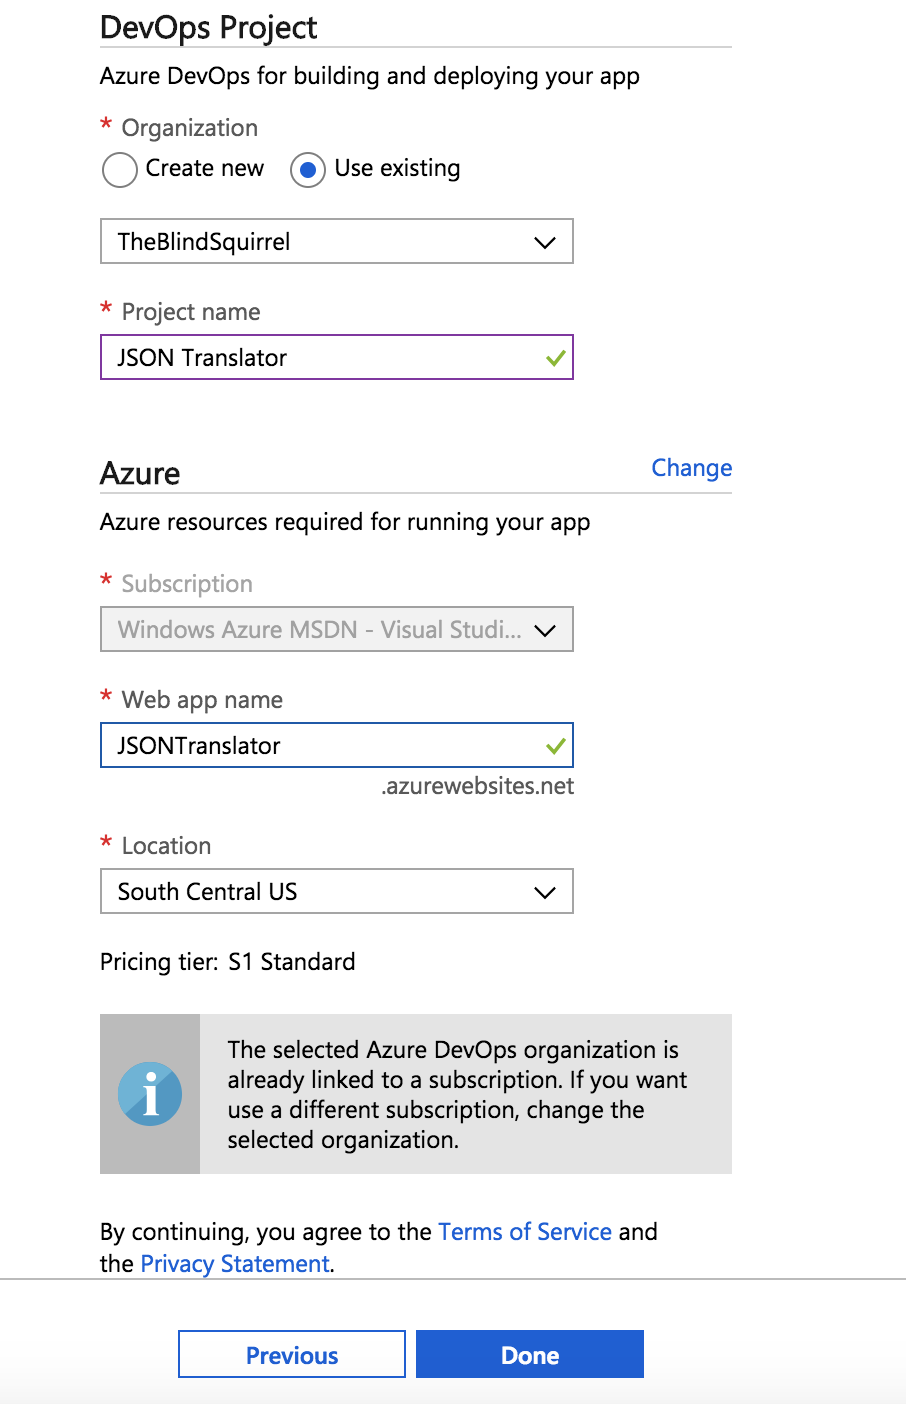
The last step is to create (or use an existing) organization, give the project a name and configure the Azure service. An organization can have several projects under it. The organization name needs to be unique within all of Azure so you may need to get creative with your name. By default a web app will be created with the same name as your project. I had previously created my organization so I'm selected Use existing for organization. After entering valid and unique names for all the fields you can click 'Done'. The process to create an organization and setup the project takes a few minutes longer than creating most other Azure resources, so be patient.
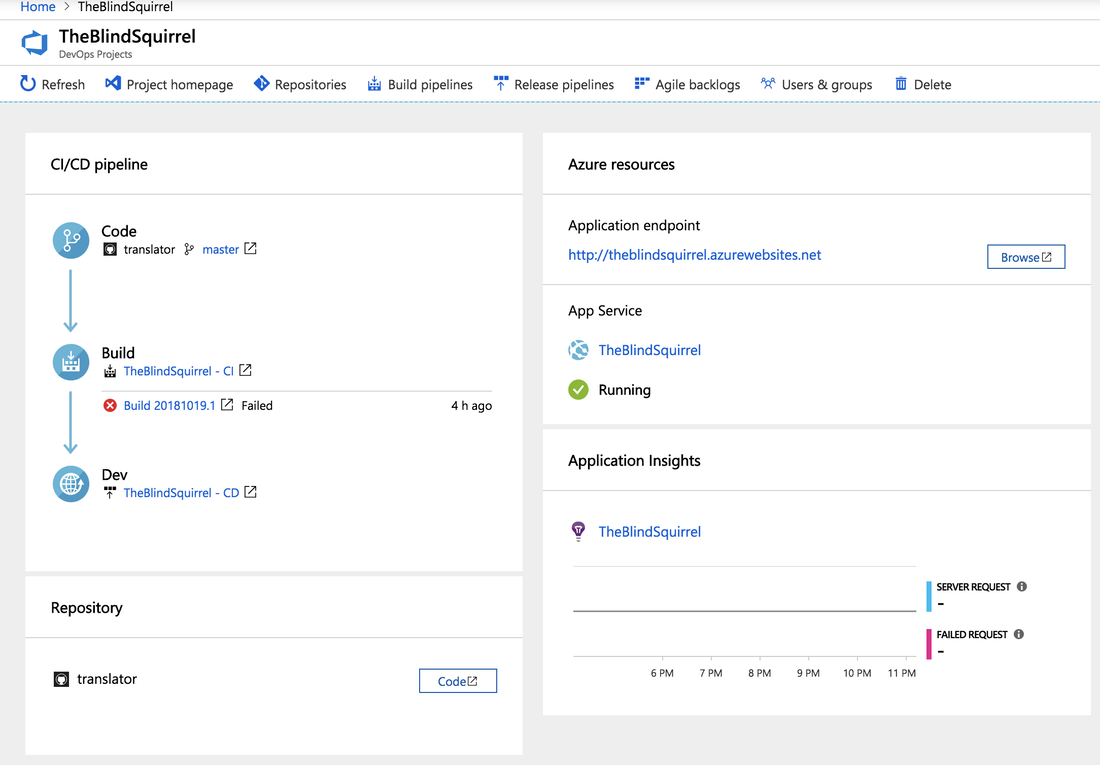
After the organization has been created and the project deployed you should see a dashboard similar to this. Don't worry if your build fails, we're going to customize it next. It is through the web portal that we'll be creating our build chains and release pipelines. Finally, open your browser and go to https://dev.azure.com/{organizationName} and I will see you in part 2. Let me know on twitter what you think and, as always, Happy Coding.
|
AuthorWelcome to The Blind Squirrel (because even a blind squirrel occasionally finds a nut). I'm a full-stack web and mobile developer that writes about tips and tricks that I've learned in Swift, C#, Azure, F# and more. Archives
April 2018
Categories
All

|
 RSS Feed
